简介
Tomcat服务器是一个开放源码的轻量级Web应用服务器,非常适合搭建微服务应用。
Embedded Tomcat
嵌入式Tomcat服务器则无需部署外置tomcat,开发者只需引入嵌入式tomcat依赖,编写少量启动代码即可运行Web应用,是搭建微服务应用的首选方式之一。
使用
新建maven工程,引入依赖
1 | <?xml version="1.0" encoding="UTF-8"?> |
程序代码写法
编写启动代码
简单的程序入口代码如下:1
2
3
4
5
6
7
8
9
10
11
12
13
14
15
16
17
18
19
20
21
22
23public static void main(String[] args) throws Exception {
String contextPath = "";
Path tempBaseDir = Files.createTempDirectory("tomcat-temp-base-dir");//创建临时目录作为tomcat的基础目录
Path tempDocDir = Files.createTempDirectory("tomcat-temp-doc-dir");//创建临时目录作为应用文档资源的目录
Tomcat tomcat = new Tomcat();
Connector connector = new Connector();
connector.setPort(8080);//设置绑定端口
tomcat.getService().addConnector(connector);
tomcat.setConnector(connector);
tomcat.getHost().setAutoDeploy(false);
tomcat.setBaseDir(tempBaseDir.toFile().getAbsolutePath());
StandardContext context = (StandardContext) tomcat.addWebapp(contextPath, tempDocDir.toFile().getAbsolutePath());//创建应用上下文
context.setParentClassLoader(Main.class.getClassLoader());
context.setUseRelativeRedirects(false);
//tomcat 启动jar扫描设置为跳过所有,避免与框架结合出现 jar file not found exception
System.setProperty("tomcat.util.scan.StandardJarScanFilter.jarsToSkip", "\\,*");
tomcat.start();
tomcat.getServer().await();
}
添加应用初始参数
通过 org.apache.catalina.core.StandardContext#addParameter 方法添加初始参数:1
2
3
4private static void configureContextParameters(StandardContext context) {
context.addParameter("param1", "1");
context.addParameter("param2", "2");
}
配置应用资源集合
1 | private static void configureResources(StandardContext context) { |
说明:
- 其中的变量 WORK_HOME 为程序工作目录,即程序根目录 System.getProperty(“user.dir”)。
- 若存在 target/classes 目录则认为程序在IDE环境中启动,将classes目录下的资源作为PreResources添加至上下文中。
- 若存在 lib 目录则认为是程序在构建打包之后,通过脚本启动的,则将lib目录下的资源作为JarResources添加至上下文中, 当然实际项目的依赖目录不一定是’lib’目录,可以根据实际情况修改。
- 应用资源集合是非必须配置项,如果没有配置,那么在程序中使用注解定义的Servlet等类型就无法通过Tomcat自动加载。
添加 Servlets
1 | private static void configureServlets(String contextPath, Tomcat tomcat, StandardContext context) { |
说明:
上述程序添加Servlet有三种方式
- 通过 org.apache.catalina.startup.Tomcat#addServlet 方法添加
- 通过 org.apache.catalina.Wrapper 对象进行配置,并添加到上下文中
- 实现 Servlet 类时候使用注解 javax.servlet.annotation.WebServlet 进行修饰,通过应用启动后Tomcat容器自动扫描添加
其中第一、二种方式添加的Servlet代码示例如下:
1 | package com.github.johnsonmoon.tomcat.embedded.test.servlet; |
其中第三种方式添加的Servlet代码示例如下:
1 | package com.github.johnsonmoon.tomcat.embedded.test.servlet; |
并且需要保证配置的资源集中包含有该类型(classes资源集合 或 lib资源集合)
添加 Filters
1 | private static void configureFilters(StandardContext context) { |
其中添加的Filter代码如下
1 | package com.github.johnsonmoon.tomcat.embedded.test.filter; |
添加 Listeners
1 | private static void configureListeners(StandardContext context) { |
启动、测试结果
代码启动后,可以通过 http://127.0.0.1:8080/test1 方式访问Servlet1的服务,并测试过滤器Filter的过滤情况。
浏览器响应如下: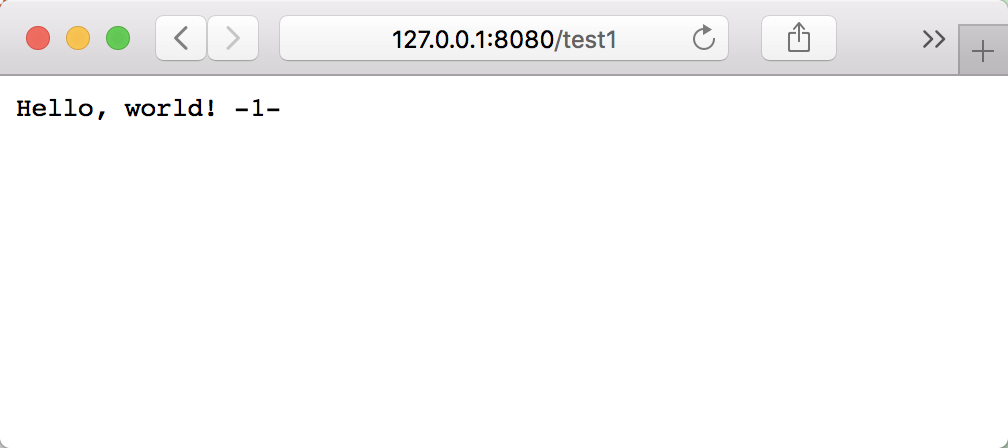
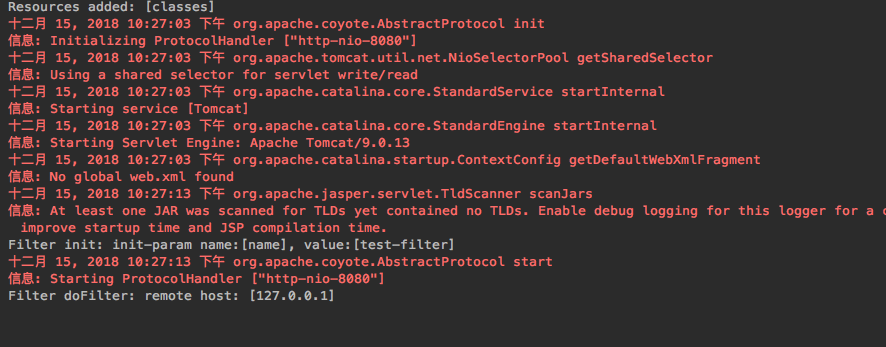
程序日志输出如下: